This Coronation-inspired project definitely isn't everyone's cup of tea
but the idea popped into my head and I simply could not resist making
it!! Sorry!! :)
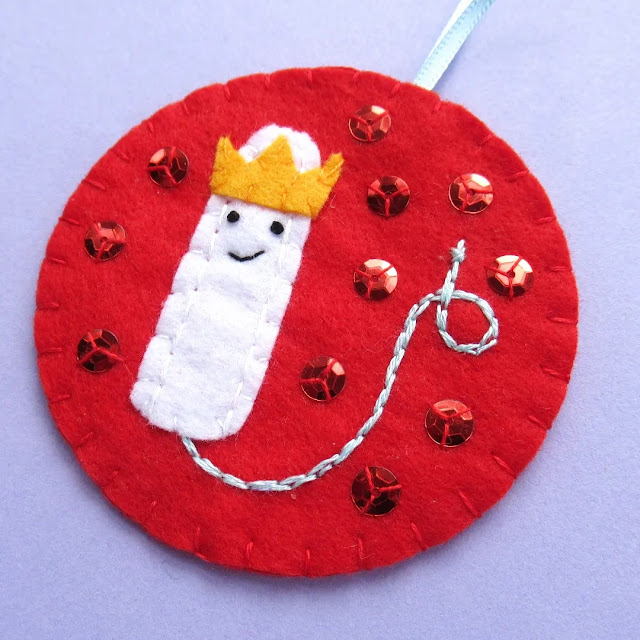
Sew a very silly, VERY CHEEKY ornament to celebrate the Coronation, the
classic Royal scandal that was Tampongate, and the relationship between
our King and Queen*

(*I think The Tampon Conversation is actually a very cute and funny example of how well suited they are for each other!)
As well as templates and instructions for sewing a Tampongate ornament, I've also included an embroidery pattern version of the design which fits neatly in a 3 inch embroidery hoop.
There's also an embroidery pattern of a cute little tampon on its own, and of course you can leave off the felt crown and just make a felt tampon ornament for any occasion!

A little felt tampon ornament would be fun to stitch as a first period present, to fundraise to help women and
girls in period poverty, or just to help promote more open and relaxed
conversations around the topic of periods.
And the happy tampon pattern would look very cute stitched on a pouch for storing your period supplies!
Click here to find the free printable PDF pattern over on my Patreon!
Click here to read more about my Patreon pattern library and to get a preview of some of the many projects you'll get access to as a subscriber.
These projects are for personal or fundraising use only: you can use them to
stitch as many ornaments or other items as you want for yourself or as gifts, but
please don't make any for sale unless all the proceeds will be donated to an appropriate charity. Thanks xx
Enjoyed this free project? Subscribe to my Patreon, or buy me a "coffee" and help support my creative work!

P.S.
Visit my crafty tutorial archive for lots more free creative projects!
Visit my shop to buy my printable PDF sewing patterns and lots more:


.jpg)
.jpg)
.jpg)
.jpg)
.jpg)